Setting up a new modular robot core
This tutorial is for researchers who want to set up a new modular robot core. First check if someone else has already arranged this for you, for example a research lab manager. If so, you should probably look at how to create a physical modular robot. Also, if you simply want to know how to use a pre-installed physical robot, check the example physical_robot_remote.
Version 1 (V1) and version 2 (V2) of the hardware exists. For anyone outside of the CI Group, V1 is not available; please look at the V2 modular robot.
Preparing the hardware
For both V1 and V2 the following items are required:
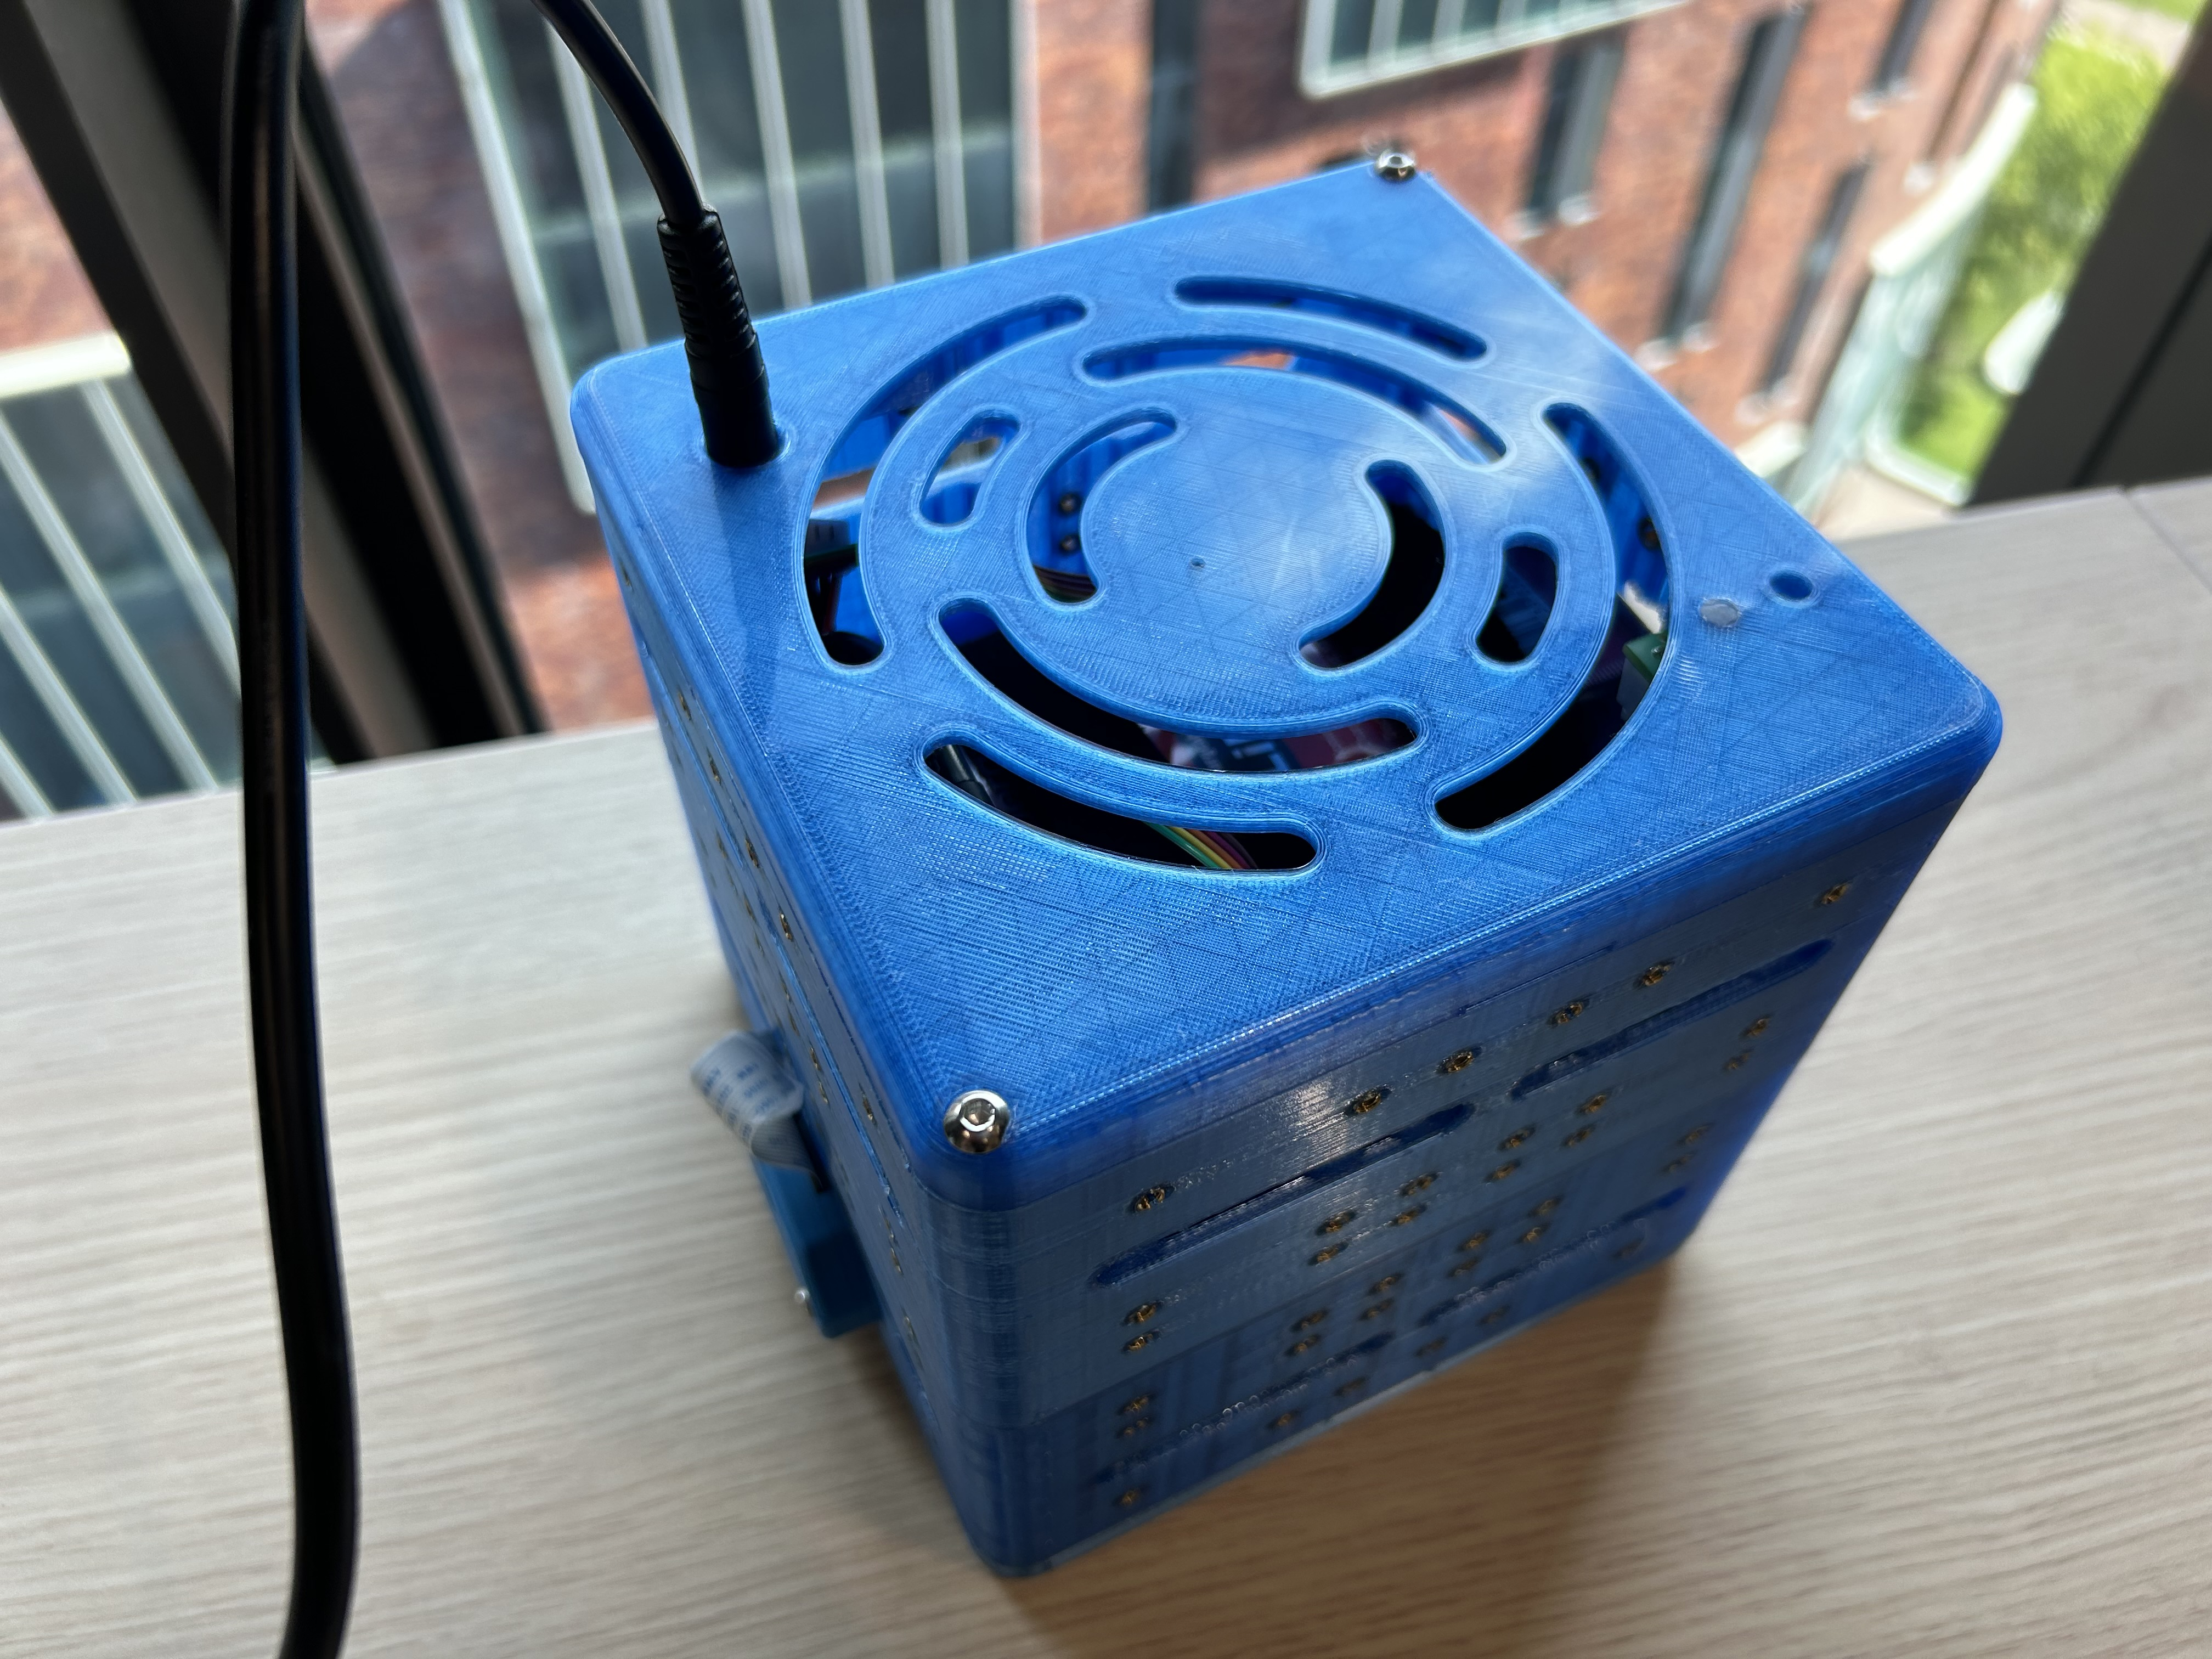
A housing that will contain the rest of the core hardware. Models to print the core housing can be found on the following git repo: https://github.com/ci-group/revolve-models.
A Raspberry Pi (RPi). For V2, this must be a RPi 4 (or newer, but check for compatibility).
A HAT (hardware attached on top), as described in the following hardware specific sections.
Hardware setup for a V1 Robot
V1 is only available to CI Group.
Obtain and attach a V1 HAT, available in the CI Group lab.
Obtain a V1 specific battery, available in the CI Group lab.
Hardware setup for a V2 Robot
To power on the device, the user must press the power-on switch. When the switch is pressed, the LED will blink three times. After the blinking period, the LED will flash multiple times. The user should release the power switch before the flashing stops. If the button is released after the flashing has finished, nothing will happen. Note: The device can only be turned on if the battery has sufficient capacity.
To turn off the device, follow the same procedure: press and hold the button while the LED blinks, and release it while the LED is flashing.
For more instructions on how to set up the hardware of a V2 core, refer to https://github.com/ci-group/robohat.
Important: For the V2 to work properly the config.txt on the RPi has to be changed. The following file contains the correct config content: https://github.com/ci-group/robohat/blob/main/config.txt. On the RPi adjust the config in /boot/config.txt or on newer systems /boot/firmware/config.txt.
Setting up the RPi
Note: For students in the CI Group, the RPi is already set up. If the heads are labeled as flashed, it means they are already flashed with the setup image, so the following steps are unnecessary. Additionally, the flashed heads are already connected to the ThymioNet Wi-Fi. However, the IP address on the head changes from time to time, so you should use the serial connection to log in and obtain the correct IP address. For instructions on how to establish a serial connection, please refer to the section below. Also, note that ongoing development changes will continue in revolve2-modular-robot_physical and revolve2-robohat packages, so make sure to pip install the latest version in your virtual environment.
This step is the same for all types of hardware.
Flash the SD card with Raspberry Pi OS (previously Raspbian). Some Important notes:
If you are required to pick a username and password, it is recommended to pick
piandraspberry. For now, all the heads are set by default withroboas the username andtestas the password.Reminder for CI Group people: if you select a keyboard layout, pick English(US). It can always be changed using the raspi-config tool on the RPi.
When setting up the Wi-Fi connection, select your Country. (CI-Group Wi-Fi: ThymioNet)
Boot the RPi and get command line access. Here are some general Tips:
You can connect a keyboard and screen.
Better is to SSH. This works only if you and the RPi are on the same network. For CI Group, connect it to ThymioNet Wi-Fi.
Hint: SSH is not enabled by default. The simplest way to enable it is using the
raspi-config.
If you want to SSH and don’t know the IP of the RPi, you can use
sudo nmap -sn <your ip>on your machine to find all clients on your network.For V2 robots: You can establish a serial connection using the AUX input on the hat. To do so, first connect the RoboHat to your device using a cable. Then, before powering on the device, use the following command to access the RoboHat:
sudo screen <port to connect> 115200. If you first power on and then run the command, the terminal might show nothing because there is no data written to the serial port.For linux users, the port is usually:
/dev/ttyUSB0.For mac users the port is usually:
/dev/cu.usbserial.
- If screen is not very smooth somehow, you can use PuTTY instead.
To install it on Linux
sudo apt-get install puttyTo connect to the serial port
sudo putty /dev/ttyUSB0 -serial -sercfg 115200,8,n,1,N.
Install Revolve2 on the RPi
Setting up Revolve2 on the robot requires different steps, depending on the hardware version. Some general steps for all versions:
Set up a global pyenv. This is to prevent changes to the system’s Python installation.:
Install required packages using:
sudo apt install -y git libssl-dev libbz2-dev libncurses5-dev libncursesw5-dev libreadline-dev libsqlite3-dev libffi-dev liblzma-dev
If an 404 error appears in this step, you most likely are on an old RPi OS. To check your os version you can run
cat /etc/os-release. It should be version12 Bookwormor newer.Install pyenv:
curl https://pyenv.run | bashAdd
pyenvto bash:echo '# Enable pyenv export PYENV_ROOT="$HOME/.pyenv" command -v pyenv >/dev/null || export PATH="$PYENV_ROOT/bin:$PATH" eval "$(pyenv init -)" eval "$(pyenv virtualenv-init -)" ' >> ~/.bashrc
Log in and out of the RPi.
Get the right Python version (this takes a long time):
pyenv install 3.11Create a global virtualenv:
pyenv virtualenv 3.11 global_env&pyenv global global_env
Then install Revolve2 using:
V1:
pip install "revolve2-modular_robot_physical[botv1] @ git+https://github.com/ci-group/revolve2.git@<revolve_version>#subdirectory=modular_robot_physical".V2:
pip install "revolve2-modular_robot_physical[botv2] @ git+https://github.com/ci-group/revolve2.git@<revolve_version>#subdirectory=modular_robot_physical".
For example, if you want to install the version tagged as 1.2.4, the command would be:
pip install "revolve2-modular_robot_physical[botv2] @ git+https://github.com/ci-group/revolve2.git@1.2.4#subdirectory=modular_robot_physical"- Set up the Revolve2 physical robot daemon:
Create a systemd service file:
sudo nano /etc/systemd/system/robot-daemon.serviceAdd the following content to the file (note: fill in the missing information):
[Unit]
Description=Revolve2 physical robot daemon
After=network-online.target <add this for v1 robots as well: 'pigpiod.service', otherwise remove this option>

[Service]
Type=simple
ExecStart=/home/<your username>/.pyenv/versions/global_env/bin/python /home/<your username>/.pyenv/versions/global_env/bin/robot-daemon --hardware <here you type either 'v1' or 'v2'>
ExecStop=/bin/kill -15 $MAINPID
Nice=-10
Restart=on-failure
RestartSec=10

[Install]
WantedBy=multi-user.target
Here, the
Nice=-10line sets a high priority for the daemon (lower values are higher priority, with -20 being the highest priority). The-loption in theExecStartline tellsrobot-daemonto only listen on the localhost interface. The-n localhostoption ensures that robot-daemon only runs if it can connect to localhost (preventing certain failure cases).Enable and start the service:
sudo systemctl daemon-reload&sudo systemctl enable robot-daemon&sudo systemctl start robot-daemon.Check if it is running properly using:
sudo systemctl status robot-daemonIf it’s not running properly, check the logs using:
journalctl -u robot-daemon -e
V1 Additional Steps
If you use V1 hardware setup requires additional steps:
V1 used
pigpiod, which is installed automatically with themodular_robot_physical[botv1]package. This library allows the control of the servos attached to the RPi’s HAT.Enabling
pigpioddaemon so it enables at startup (used for the servos).Setting up a
systemdservice: The modern way to manage startup services on many Linux distributions is viasystemd. You can set up a service forpigpiod.Create a systemd service file:
sudo nano /etc/systemd/system/pigpiod.serviceAdd the following content to the file:
[Unit]
Description=Pigpio Daemon
After=network-online.target

[Service]
Type=forking
ExecStart=/usr/bin/pigpiod -l -n localhost
ExecStop=/bin/kill -15 $MAINPID
Nice=-10
Restart=on-failure
RestartSec=10

[Install]
WantedBy=multi-user.target
These settings are identical to the settings for the robot-daemon.
Enable and start the service:
sudo systemctl daemon-reload&sudo systemctl enable pigpiod&sudo systemctl start pigpiod.
Test your robot in the real world
There are two examples (https://github.com/ci-group/revolve2/tree/master/examples/5_physical_modular_robots) you can run to control your newly built robot remotely and check whether it has been built correctly. Please make changes according to your robot’s configuration, such as the robot’s hostname and the pin IDs.
5a_physical_robot_remote: Control a physical modular robot by running its brain locally on your computer and streaming movement instructions to the physical modular robot.
5b_compare_simulated_and_physical_robot: Create a physical robot with a simulated twin. You will use two separate scripts, one for the simulated robot and one for the physical robot. With this duplicate you can check whether you have built the physical robot correctly, by comparing it to its simulated counterpart.